Installing the Honda Accelerator Pump Kit
Here's a step-by-step how to on installing the Honda Updated Accelerator Pump Kit. I recommend removing the carb from the bike to install this kit. Before removing the carb from the bike make sure the petcock is in the off position and all fuel in the carb has been properly drained. Perform all work in a well ventilated area away from any source of ignition.
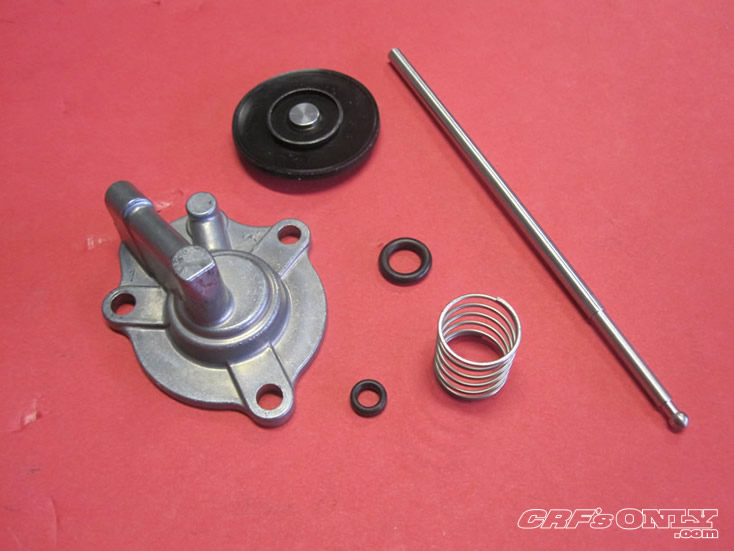
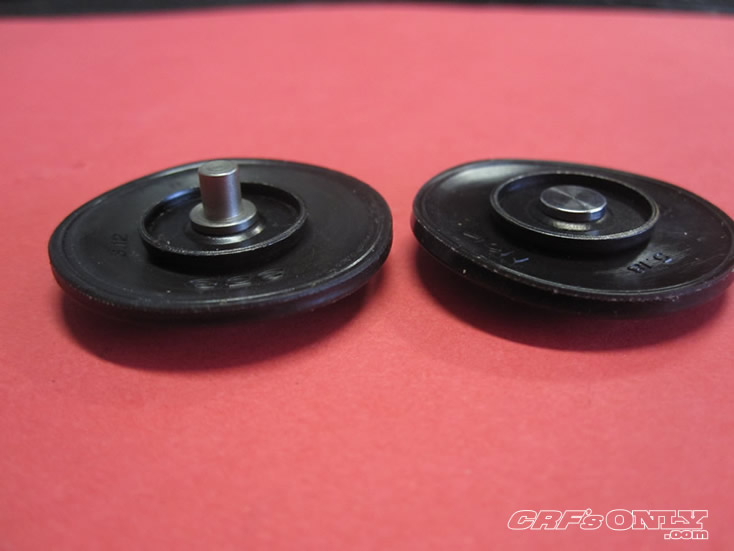
Contents of the Honda Accelerator Pump Kit: Updated accelerator pump cover, improved diaphragm, longer rod. replacement o-ring and d-ring washers. The two primary improvements were the cover and the diaphragm. The cover moved the check valve from the float bowl to the cover shortening the circuit length thereby increasing pump pressure and response. The diaphragm has a shorter pin providing longer pump duration.
The primary purpose of this kit is to improve the off-idle performance of your carb.
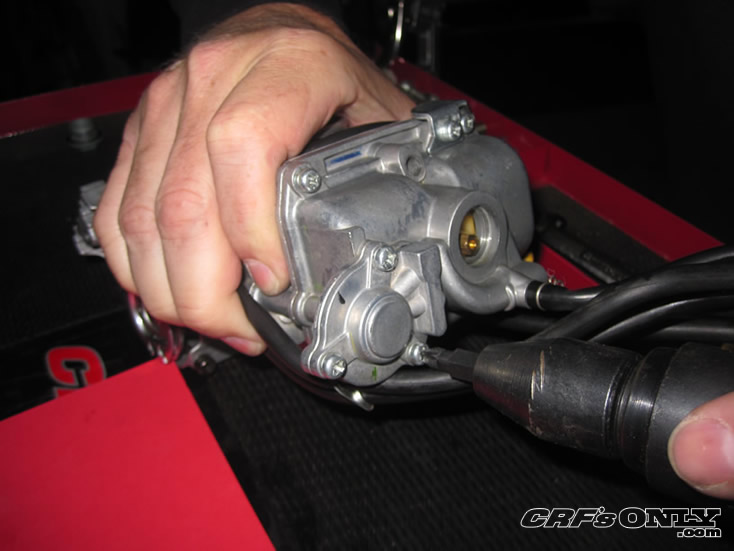
With the carb removed from the bike remove the float bowl and properly drain any remaining fuel
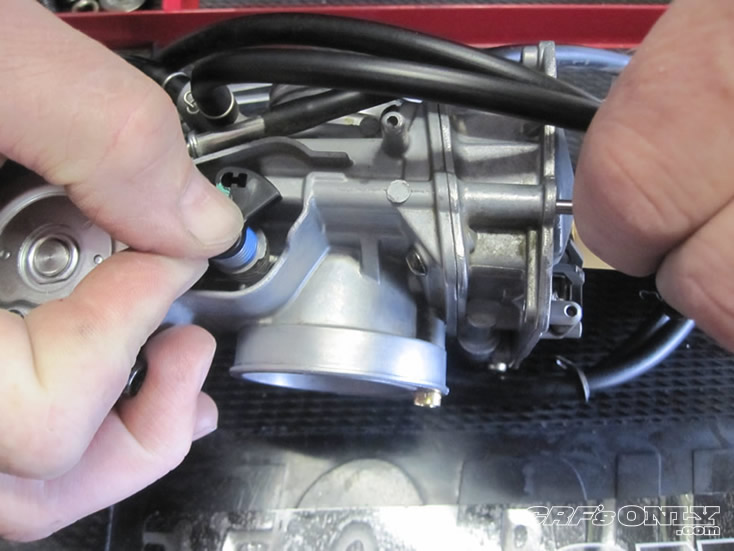
Remove the pilot screw (AKA the fuel screw). You may still have the stock pilot screw. If so, this is a good time to replace it with an adjustable version like this CRF's Only T-handle fuel screw. For more information on the CRF's Only fue screw click here. When removing the pilot screw make sure to remove the o-ring, washer and spring.

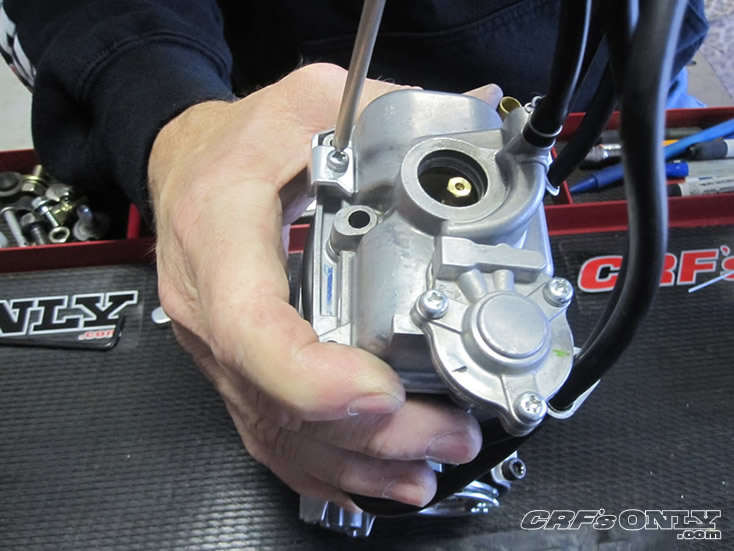
Remove the float overflow tube
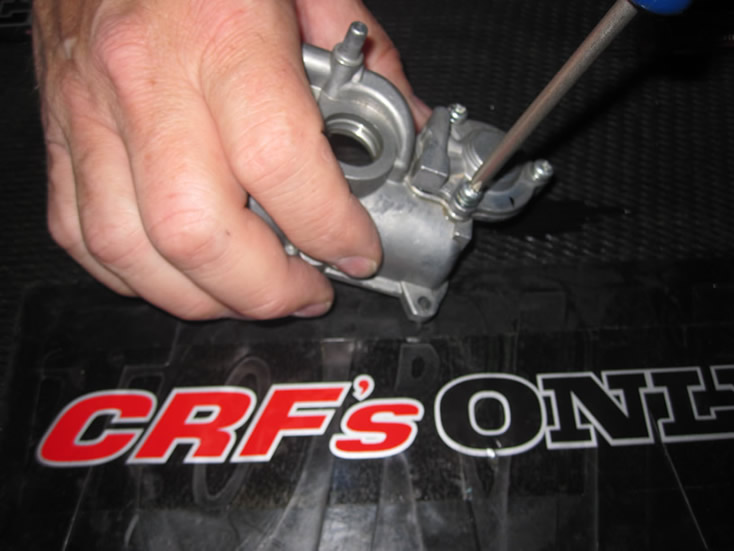
Loosen all of the philips head screws on the float bowl and accelerator pump cover. These screws are very soft and will strip if care and the proper size screwdriver are not used. The float bowl needs to be removed to replace the accelerator pump rod and to remove the accelerator pump check valve.
With all the screws loose, remove the float bowl from the carb.
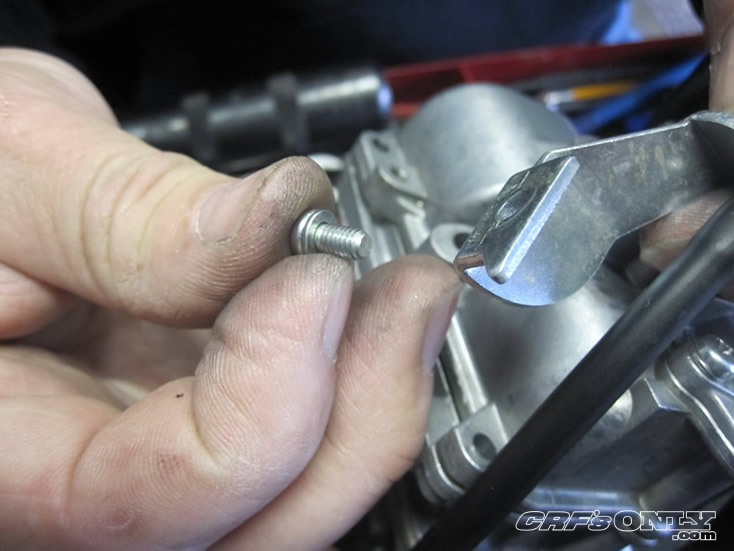
All of the float bowl screws are the same length with the exception of the idle adjust bracket screw
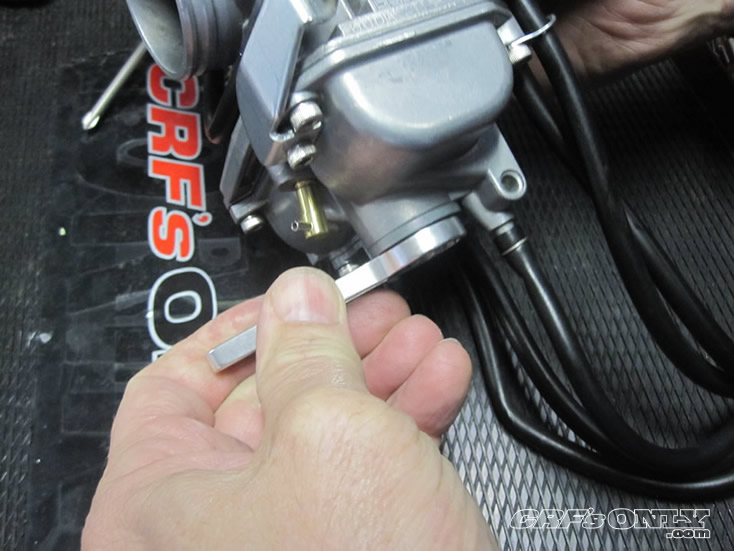
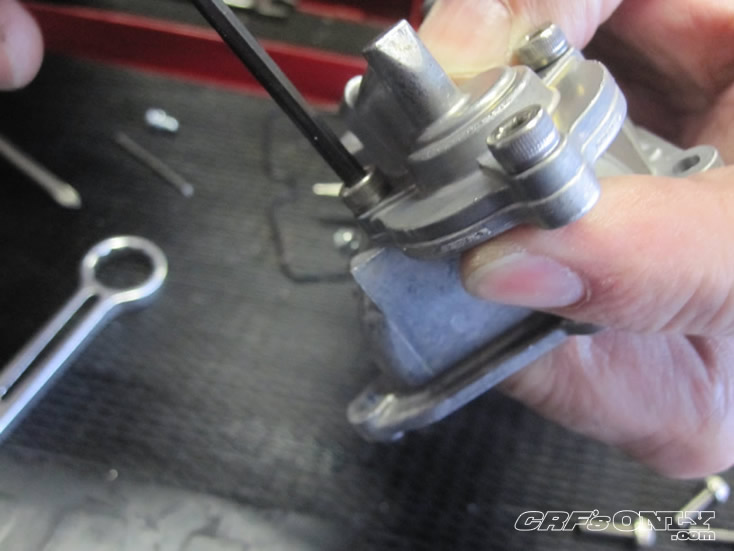
With the float bowl removed you can now remove stock accelerator pump rod with the updated rod. The updated rod is slightly longer than stock rod. The throttle pulley cover should already be off if you have removed the carb. If not, remove this cover to access the accelerator pump linkage. To remove the rod, extend the rod by rotating the accelerator pump linkage down. With the rod fully extended, firmly hold the end of the rod and pull it out. It can take more force than you think to pull the rod out as it "snaps" into the plastic rod linkage.
This may also be a good time to consider replacing the stock linkage spring with the Merge Racing Accelerator Pump Spring. Click here for more information about this spring.
Install the updated accelerator pump rod in the same manner by rotating the rod linkage and pushing the rod into the linkage. You'll feel the rod snap into place.
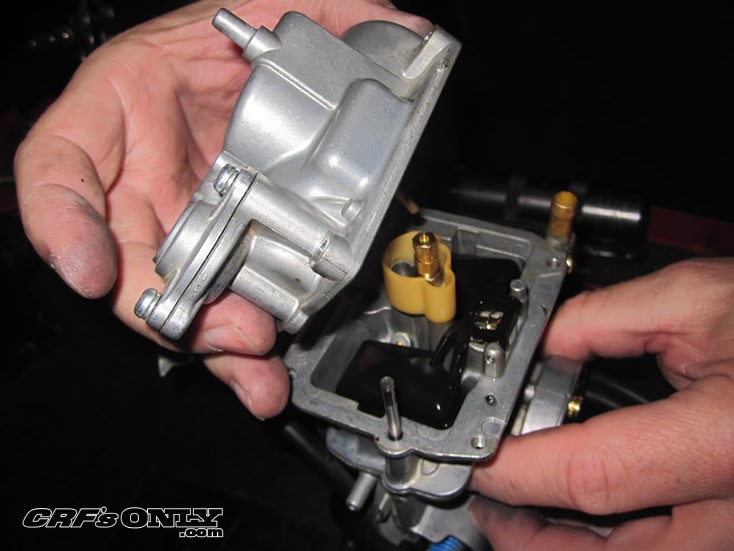
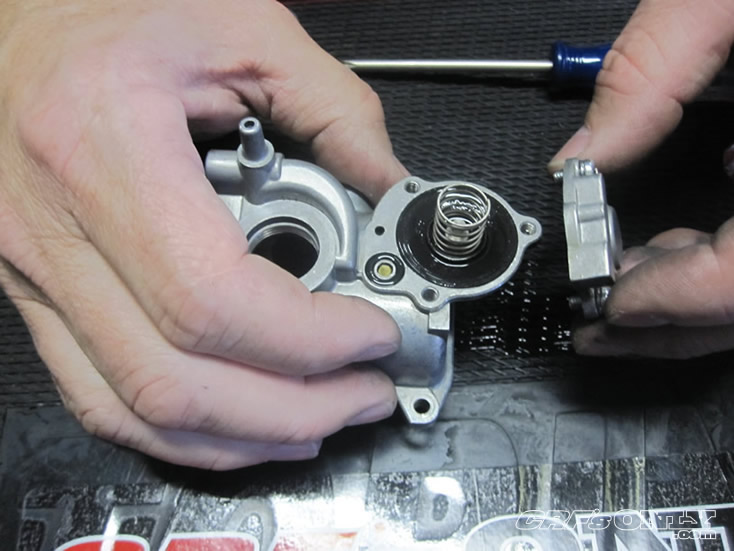
Remove the accelerator pump cover
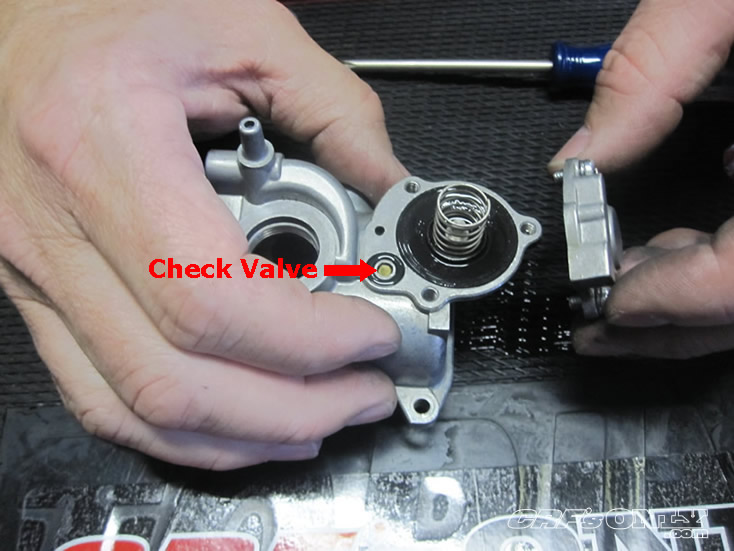
With the cover removed you'll see the diaphragm, spring, and check valve o-ring. Remove these from the float bowl.
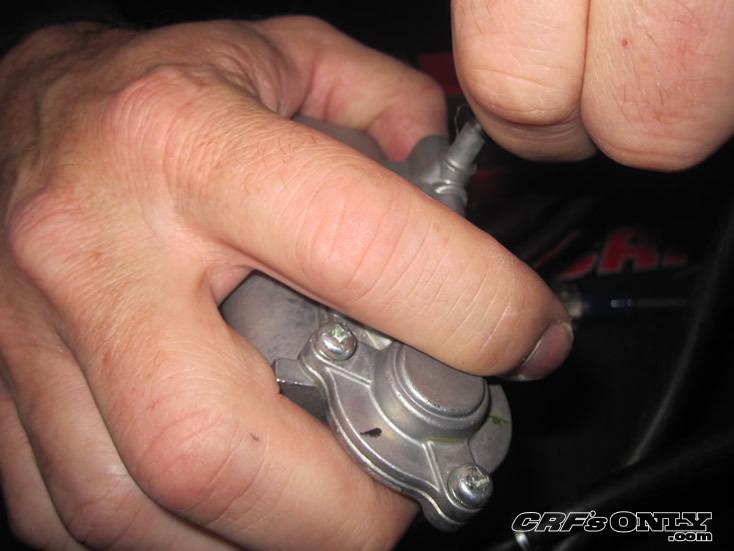
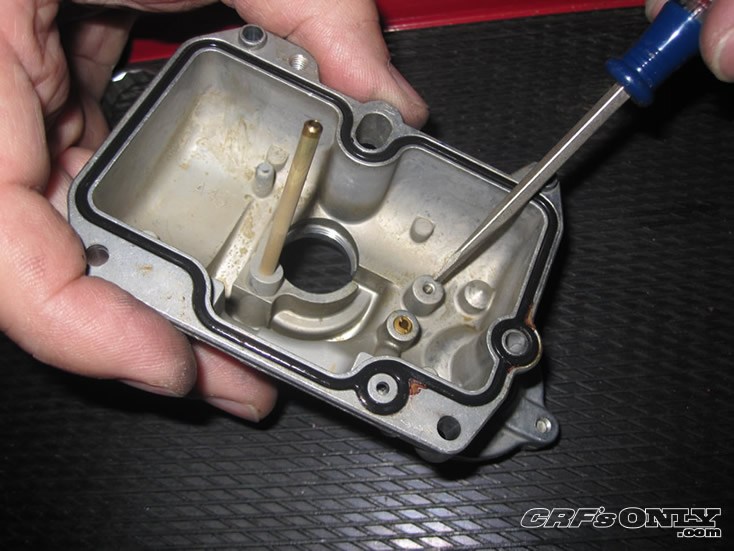
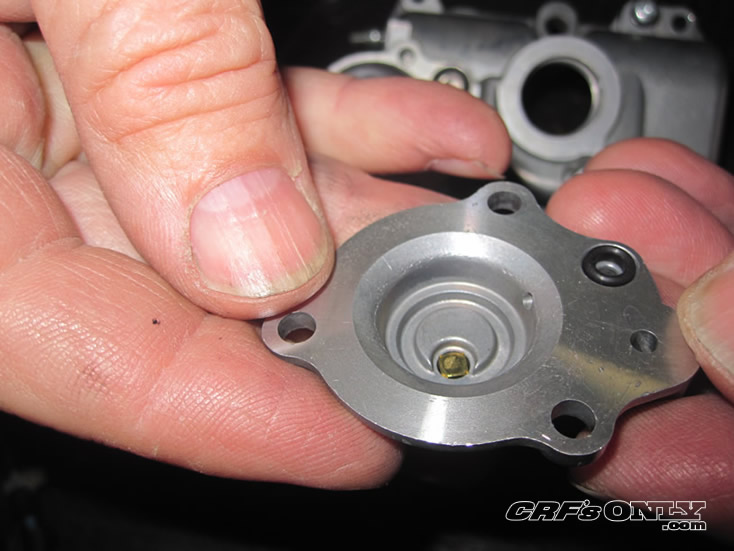
To use the updated accelerator pump cover you will need to remove the accelerator pump check valve in the float bowl. The updated cover has the check valve in the cover. In the photo below the screw is pointing to this check valve.
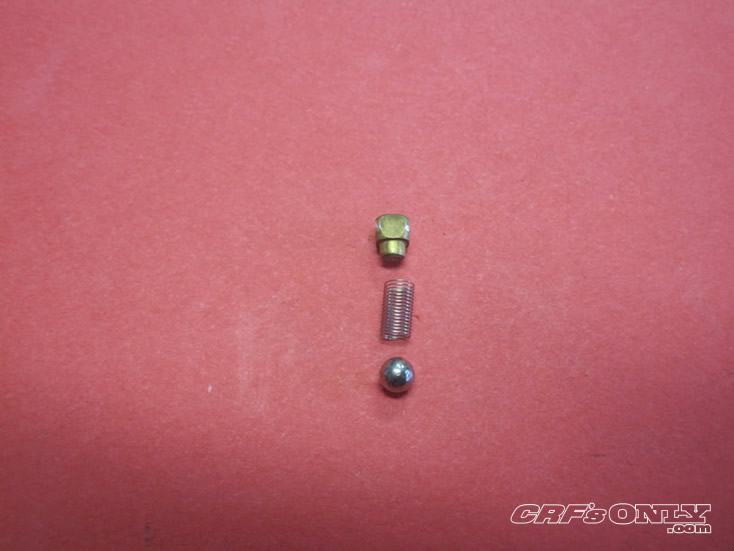
This photo is of the check valve from the accelerator pump side
The check valve consists of a bearing, spring and brass retaining plug
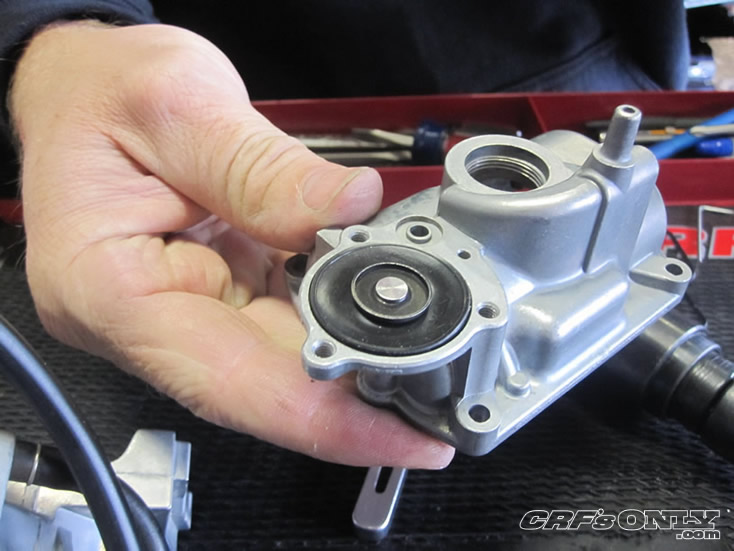
Remove the check valve from the inside of the float bowl (bearing side) using a straight gauge punch no larger than the opening. Do not use a tapered punch as it will enlarge the opening as you drive out the check valve. With the check valve removed you can install the updated diaphragm with the pin facing up. Note the check valve has been removed.

Install the check valve circuit o-ring.
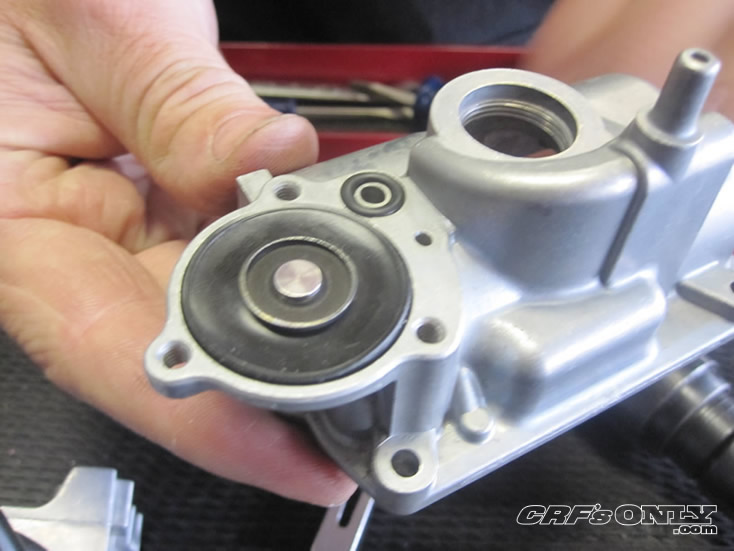
As you can see the new diaphragm has a much shorter pin. This shorter pin increases the pump duration.
Install the d-ring in the updated accelerator pump cover.
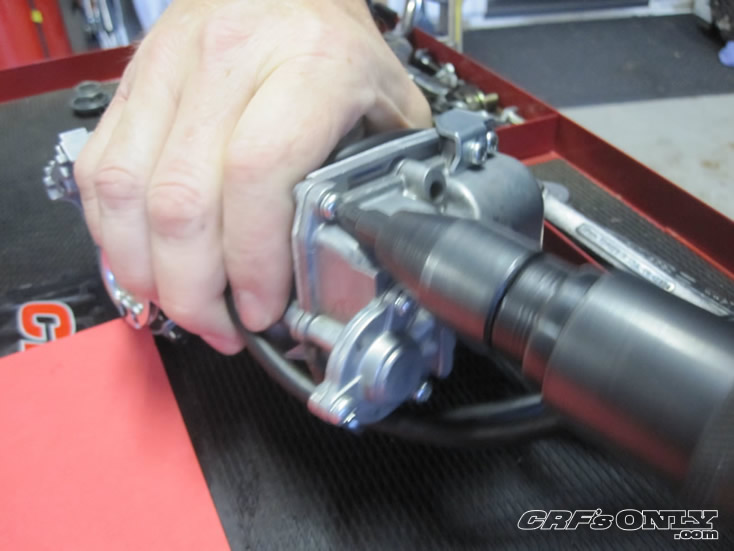
Install the new spring and the updated cover. I have taken this opportunity to replace the soft stock screws with stainless steel Allen screws. This will make it much easier in the future to service the carb. Click here for more information about this screw kit.
Complete the installation by reinstalling the float bowl, float bowl nut, pilot screw and overflow hose.
CRF's Only "How-To" By CRF's Only Staff